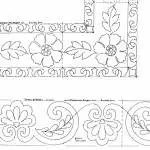
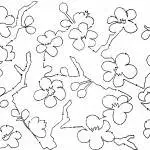
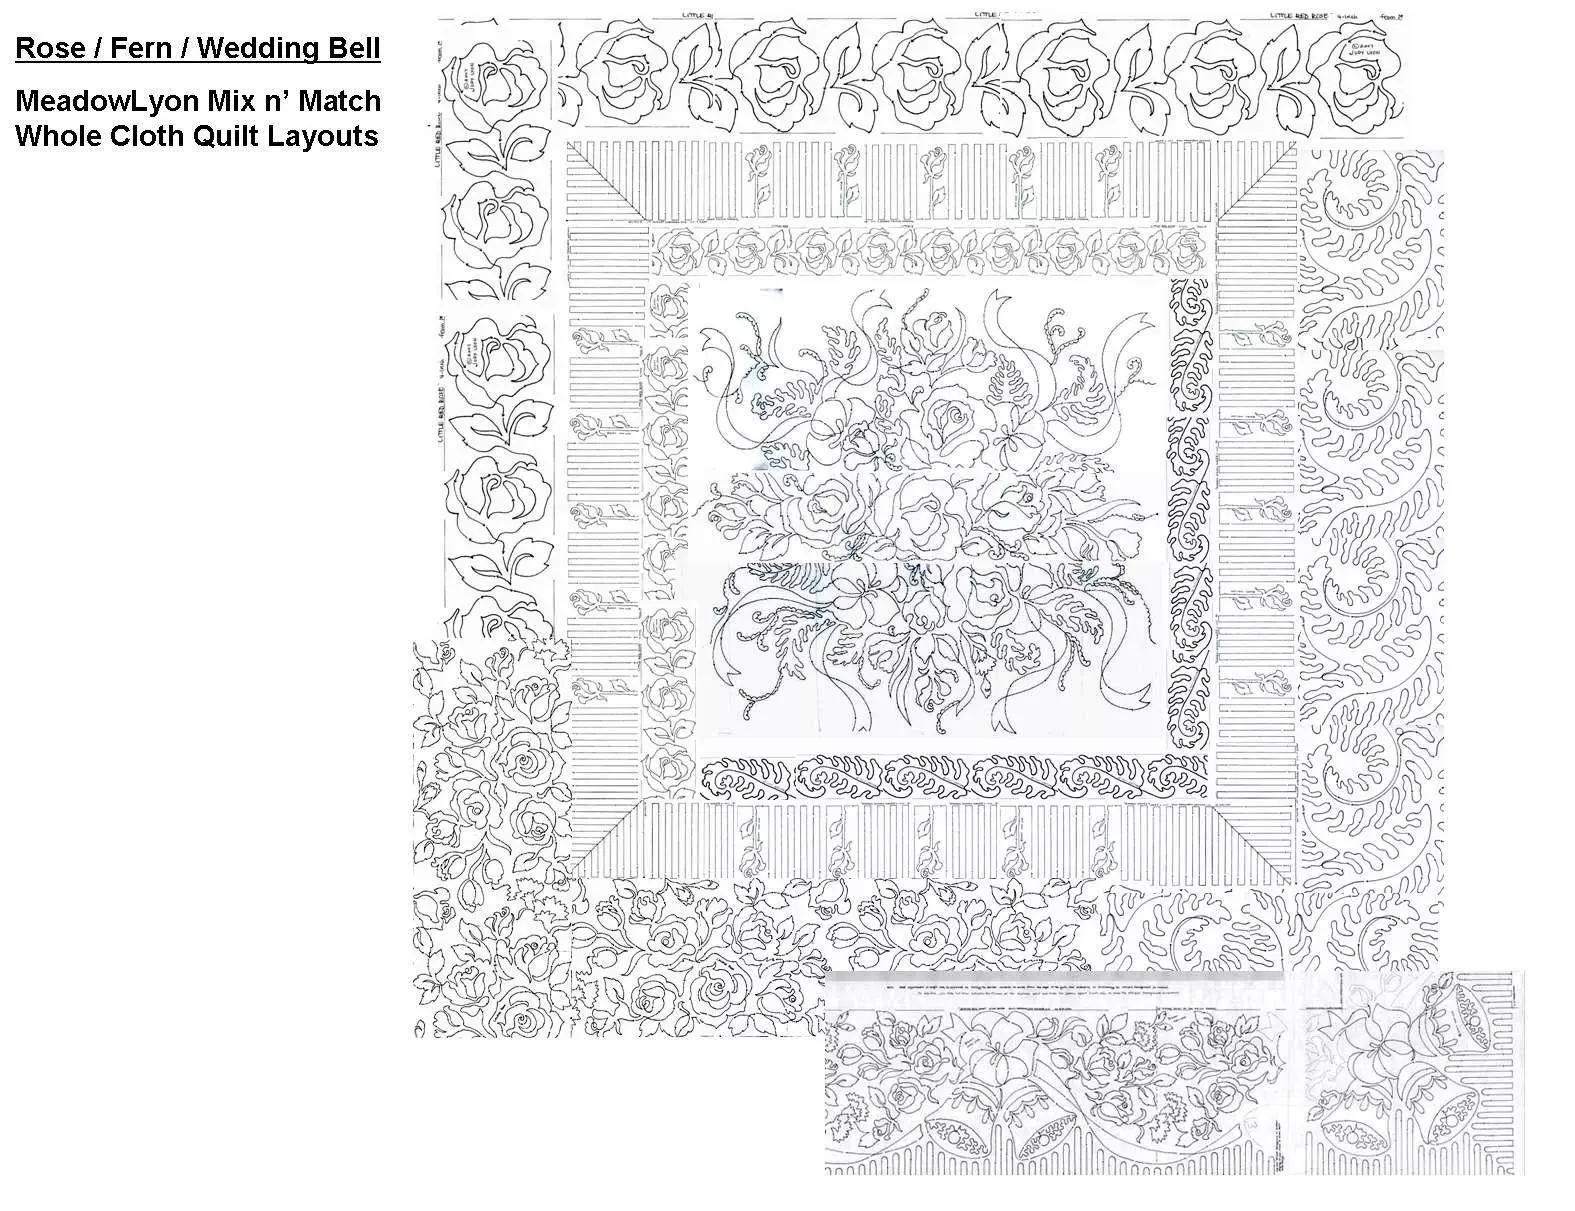
…using Wedding Bell Swag, Floral Medallion, Rosebud Striped border. etc. I’ve posted a Floral Wholecloth Layout with many of the floral patterns. Reading through the following directions (although specific for the three listed) will be helpful in planning your individualized quilt layout.
The following instructions come with the Floral Medallion pattern but they may be useful for setting up quilting for the Wedding Bell Swag with other combinations.
So you want to make a whole cloth quilt?
There are many options, so have fun mixing and matching.
Here are some pointers for completing an 80” sq. Wedding Bell Quilt as pictured on the Wedding Bell Swag posting.
Patterns needed: Wedding Bell Swag Border
Rosebud Striped Border
Floral Medallion
You can make a 108” quilt by following the included diagram. The Additional Tips for quilting the swag will be helpful.
1. The Wedding Bell Swag pattern prefers a 30” throat space.
(I have a 24” and although I finally got everything
joined-up piecemeal, it took time! If you decide to try it,
be sure to quilt AROUND the corner’s edge as far as you can.)
2. If necessary you can make the quilt slightly smaller or a few inches
larger by changing the length of the outer stripes.
3. After loading the quilt start at either the top or the bottom.
I recommend Quilting across the entire end including both complete
corners. The following method will maintain the “fit” of the stripes.
(You’ll need to cut the corner from the main pattern so you can
“attach” it to both ends.)
Additional Tips
A. First, starting at the corner, quilt the flowery, be-ribboned
Wedding Bell Swag halfway across.
B. Go back and quilt the stripes around the corner and under the swag
half-way across. (If you don’t want the stripes you could use
stippling.)
C. Move the corner into position at the other end.
D. Quilt the flowery swag the rest of the way including the corner.
E. Now quilt the stripes the rest of the way and around the corner.
F. Place your needle at the inside corner of the swag and with a
wet-erase marker or a pin, put a dot on the quilt at that
point.
Repeat at the other end.
4. Align and stitch the Rosebud Border ¼” inside the swag. (Measure this
from the points that you marked. The ¼” may vary with the stretch
of your fabric so adjust the Rosebud stripes so they come out even.
Move the corners in and tape or paper-clip in place.)
When stitching, I apply clamps on the track to stop the stripes evenly
at both the top and bottom, but it’s not necessary. Machines love to
go straight!
5. Center the lower portion of the Floral Medallion with the inside of the
Rosebud Border. (The pattern between corners should be
approx. 37 ¾”.)
It’s likely to have shrunk to about 37”. The Floral Medallion
measures 36” square. You’ll need to allow ½ ” all around it.
Therefore start ½ ” inside the inner corner of the Rosebud border.)
6. Stitch across the first panel, then align the top corner point with the
lower corner of the next panel. Do not leave a space, but do move
the machine across and make sure high points do not extend
beyond the line of the pattern and adjust slightly if necessary.
7. Continue by stitching center and upper panels.
8. Allowing ½ ” space – align, center, and stitch the opposite Rosebud
Border (upside down).
9. Allowing ¼” align, center and stitch the opposite Wedding Bell Swag
border, upside down, with corners attached.
You may find it necessary to reload the quilt and quilt it from the
opposite end if your batting is thick and minimizes the throat space.
As before, stitch half-way across, then go back and do the stripes.
Repeat the rest of the way across.
10. Remove quilt and re-load to stitch the two sides. You’ll have to
pull the clamps very tightly.
11. Align and stitch the Rosebud border. (This will help to evenly
distribute the fullness which is inevitable.)
12. Align and stitch the Wedding Bell Swag pattern between the corners.
Again go half-way and then do the stripes, repeat.
13. Turn the quilt and repeat steps 11 and 12 for the borders on the
opposite side.
14. Finally roll the quilt to the middle section and, IF DESIRED, apply a
fine stippling style of your choice between the flowers and ribbons of
the center medallion to create a “faux trapunto.” You may also
apply the same stippling around the ribbons of the swag borders
rather than the stripes, if desired.


 “Meringue 11“


 Ski Slopes 11″
 Winter Games Blocks
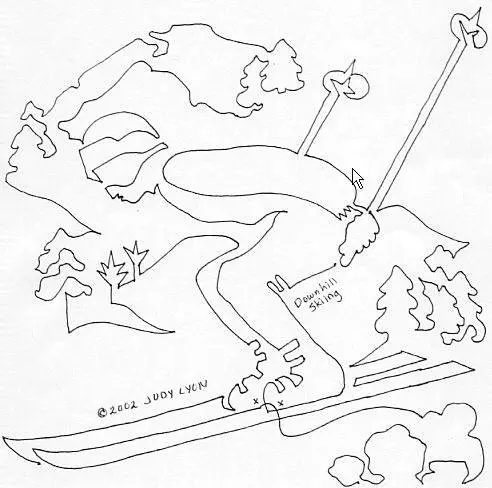
 Wedding Doves 11″
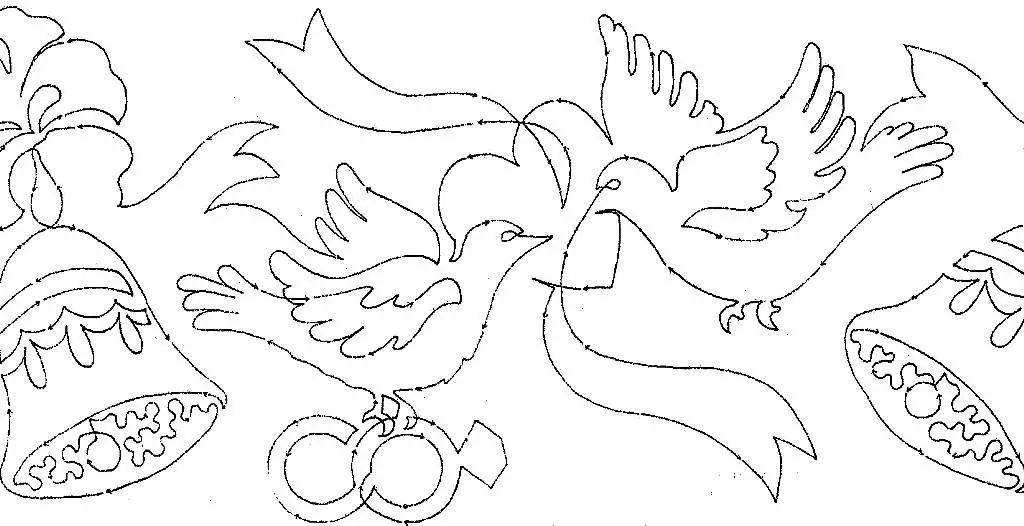

 Penguins on Parade Blks
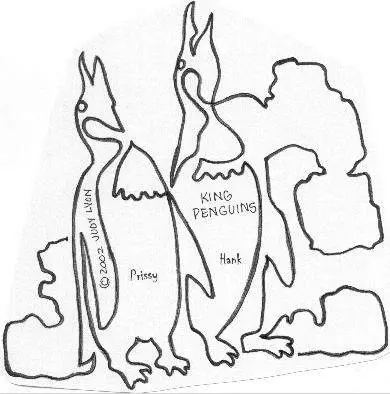
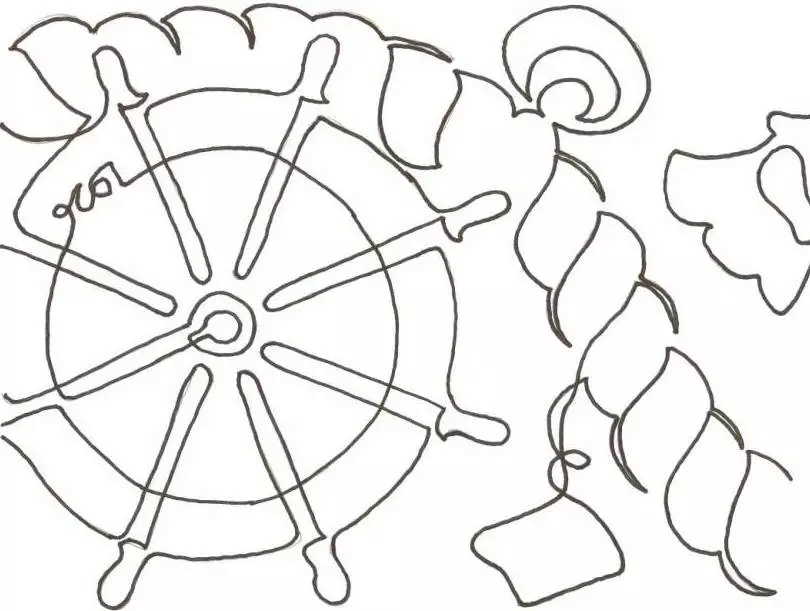
 Stoneware Churn 10″
 Snowbird Borders 6″